This page contains affiliate links. This means that we may get a small commission for recommending products, if you choose to click on something and buy it. This does not cost you anything, but we wanted to be honest and let you know!
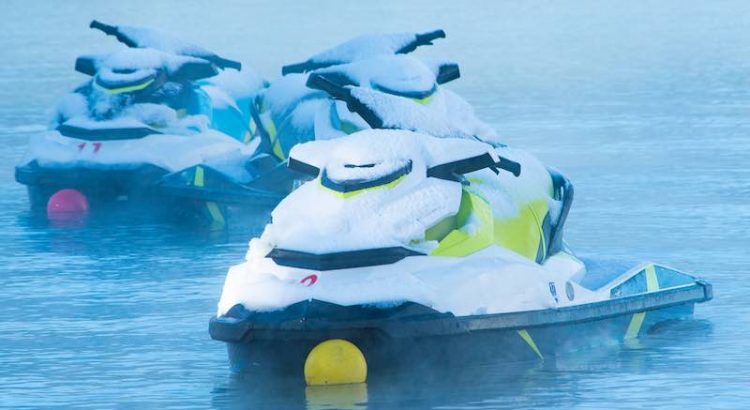
(Last Updated On: )Winterizing your jet ski at the end of the summer season will ensure it is ready for the coming year.
These steps will help you get your jet ski winter-ready and be able to look forward to being first on the water next summer.
When you properly prepare your jet ski for storage over the winter months, you save yourself time and money.
We recommend that you get out your owner’s manual or look online for specific guidelines for your particular model, but these six steps to winterization are universal for the most part.
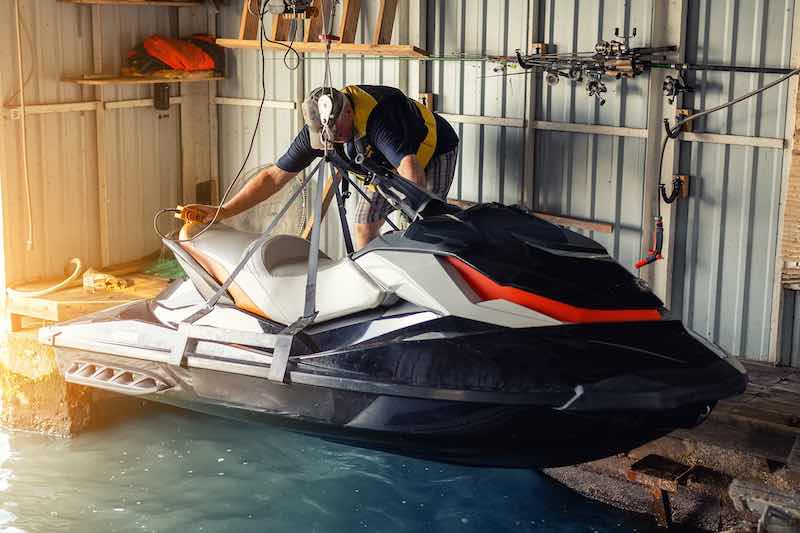
Table of Contents
Our Six Steps in Winterizing a Jet Ski
First Step: Drain The Water From Your Jet Ski
Whether you run your jet ski on a lake or in the ocean, the ski uses the water as a cooling system.
The jet ski takes in the water to regulate engine parts’ temperature that can get hot while you are zipping around.
It is critical to drain out this water as corrosive if left in the jet ski for a long time.
The water will also have dirt, sand, and algae in it, and that dirt can get trapped inside and interfere with the smooth running of your machine.
Here is how to drain the water from your jet ski:
Put the jet ski on an incline so that the front end is higher than the back. Do this on a boat ramp or a jet ski lift.
Turn your jet ski on and let it run for just about 30 seconds. While it is running, periodically press the throttle in short bursts. This will remove the excess water.
After the first 30 seconds, turn the engine off.
Wait a minute or two. Repeat the above process.
Do this a total of three times. This should drain all of the water out.
Above all else, don’t skip this step when winterizing your jet ski. It is the most critical thing to do to prepare your jet ski for the winter months.
Second Step: Winterize The Internal Parts of The Engine
If you will store your jet ski somewhere other than at your home, ask the facility if they prefer the jet ski to have no fuel in the tank.
If you need to store the jet ski without fuel, drain the tank. As the following video shows, it is an easy process; to drain the gas out of your jet ski and will only take about 10 minutes.
If you will store your jet ski with fuel in the engine, get some fuel stabilizer and enough fuel to fill the tank.
Hardware, auto parts, or a big box store like Walmart sell fuel stabilizer. The idea behind filling the tank is that a full tank helps prevent condensation if you are not leaving the tank empty.
Check the directions on the fuel stabilizer bottle, and add it to the jet ski tank before you add the gas as this will help mix the stabilizer into the gas.
Once you have the stabilizer and fuel in the tank, start your jet ski and let it run for about 30 seconds.
Turn the engine off and let it sit for a few minutes. Turn the jet ski on one more time for 30 seconds and then turn it off.
This process enables the fuel stabilizer to make its way through the engine.
Now is also a great time to replace the oil and oil filter. Drain the old oil, replace the old filter, and refill your jet ski with new oil.
As with the fuel, a full oil reservoir will be less likely to develop condensation. Make sure to dispose of the old oil correctly. Some auto part stores and auto shops will recycle old oil for you.
If storing your jet ski in an area that will get below freezing, run antifreeze through the system.

Third Step: Winterize The Internal Parts of Your Jet Ski
Remember to check your owner’s manual to see what exact steps to take for winterizing, but usually, the next step is to “fog” the engine.
This step consists of spraying fogging oil into the engine. The fogging oil lubricates all the internal parts. You can find fogging oil at an auto parts store.
As engines vary from one another, this step may also vary, so it is important to consult your owner’s manual.
Locate the carburetor on the top of the engine. Before you take the covers off the carburetor, wipe down the top to remove any dust, dirt, or debris that may be blown into the engine as you spray the fogging oil.
Take the covers off and start up the engine. Spray the fogging oil into each cylinder until it stalls out.
This will help to keep all the internal parts lubes up and moving, which will, in turn, keep your jet ski running smoothly.
After the fogging is done and carburetor covers are back on, locate and remove the spark plugs.
Spray fogging oil into each of the spark plug chambers. Don’t saturate this chamber; it does not take much fogging oil in this area.
Before putting the spark plugs back in, place a shop towel or cloth over the plug chambers.
The cloth will keep the fogging oil from flying all over the place, as you will need to turn the engine on briefly.
Turn the engine over momentarily to move the oil around to coat everything.
Put the spark plugs back in. Even if you plan to replace the spark plugs, it is best to do that in the spring so the plugs will be fresh.
Leave the old spark plugs in over the winter. Don’t leave the chambers empty as it allows dirt and dust to get into them.

Step Four: Check The Battery on Your Jet Ski
This step is relatively simple as you just remove the battery and store it for the winter.
When removing the battery, which may be located at the back of the machine, disconnect the negative terminal first and then the positive terminal.
Store the battery in a cool place, but not one that gets cold, as it shortens the life of a battery.
Keep the battery up off of concrete, as this can slowly drain a battery. Place it on top of a rubber mat or spare piece of wood to keep it off a concrete floor.
Attach the battery to a trickle charger. This is a good practice, and a trickle charger is not expensive.
The charger will slowly charge the battery and help the battery to hold the charge for longer.
Having your battery on a trickle charger over the winter will help it start easier in the spring.
Step Five: Winterize Your Jet Ski With a Sponge Bath
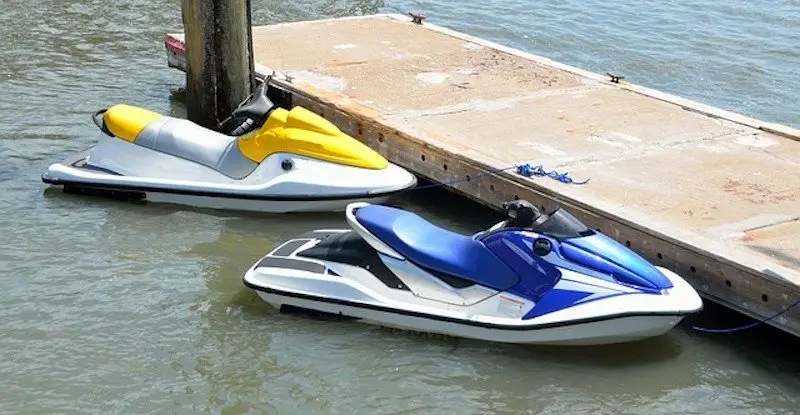
Now is the time to give your jet ski a bit of a bath before putting it to bed. This will get off any salt, dirt, or sediment from its time out on the water.
If you choose, now would also be the time to wax the jet ski.
Clean out any items or dirt from storage areas.
Depending on where you store your jet ski, you might want to put some steel wool in the exhaust. Mice and other small rodents have a habit of making nests in areas like this.
The steel wool will keep them out; just remember to take it out in the spring.
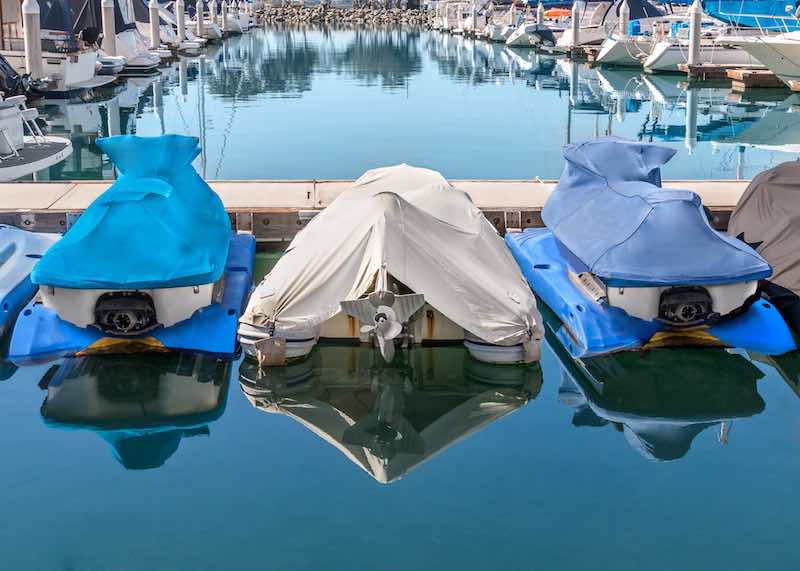
Step Six: Winterize Your Jet Ski With a Cover
Before covering your jet ski, take the seat off and leave it off, or at least propped up.
There may still be some water or mixture in the area under the seat, and you don’t want corrosion or rust to damage your machine.
You can also leave the seat unclipped with an air gap so that any moisture can evaporate.
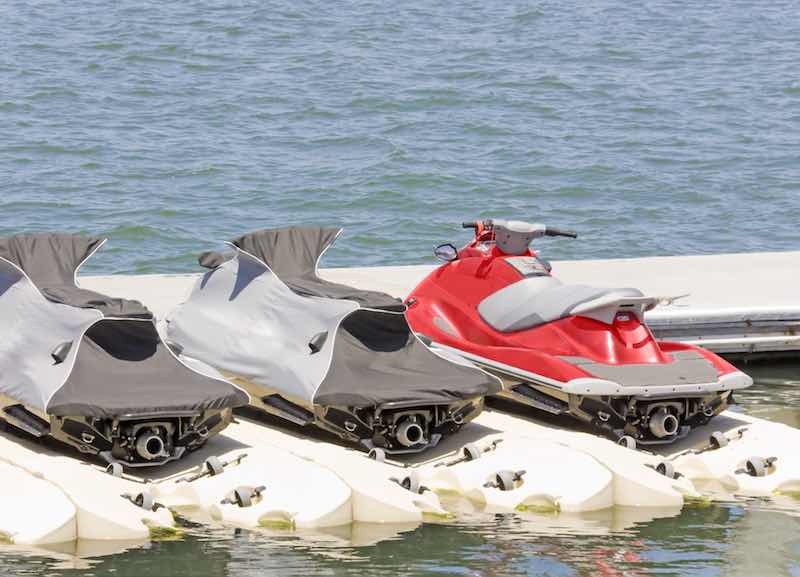
Covering your jet ski will keep dirt, dust, and debris from settling on the machine and keep it ready for the summer to come.
In Conclusion
The time you take winterizing your jet ski will pay you back ten fold in the amount of time you will be able to spend on the water with a well-running machine.
The more seasons that go by, the easier it will become to follow this routine. This will give you years of pleasure out on the water with your jet ski.
