This page contains affiliate links. This means that we may get a small commission for recommending products, if you choose to click on something and buy it. This does not cost you anything, but we wanted to be honest and let you know!
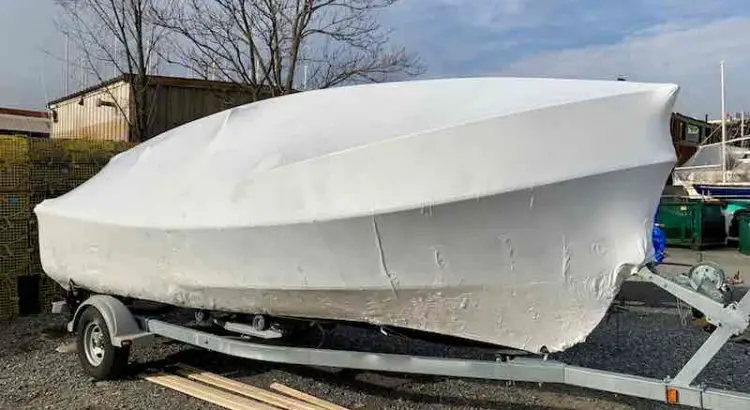
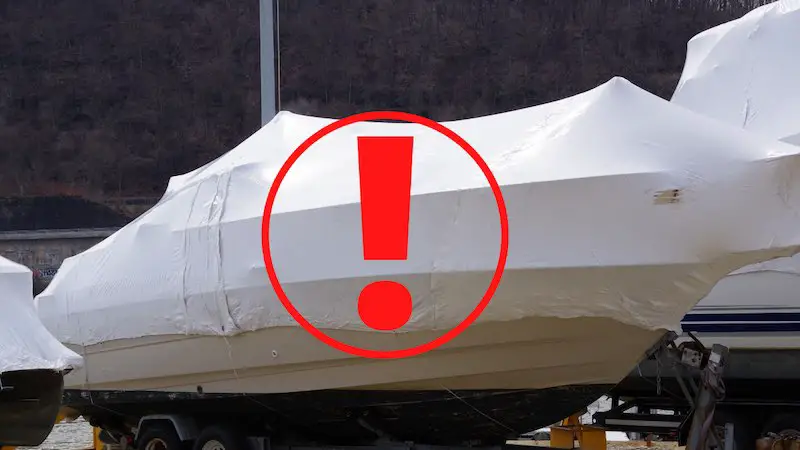
(Last Updated On: )When getting your boat ready for winter or for an extended time in storage, it is advantageous to know how to shrink wrap your boat.
Shrink wrapping your boat will protect it from rain, ice, snow, and it will also protect your boat from UV light.
A shrink wrap will also keep your boat safe from pesky birds who decide it a great place to take up residence.
You can purchase a boat shrink wrap kit or get the items you need individually. At the end of the article, we will list the items necessary to DIY shrink wrap your boat.
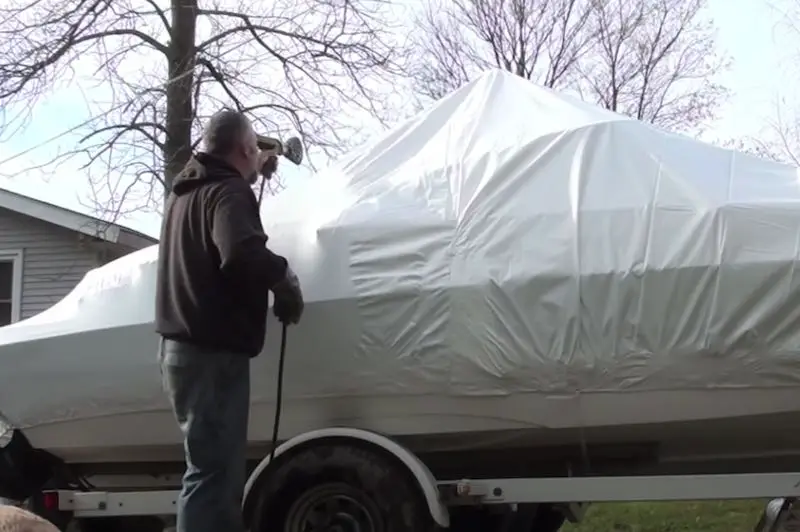
Table of Contents
How Do You Shrink Wrap A Boat Yourself
Shrink wrapping your boat is not a walk in the park, but it is doable. The first time you protect your boat with shrink wrap, take your time, and go slow.
It wouldn’t be a bad idea to ask a friend to help with a promise of pizza and beer…AFTER you use the propane torch.
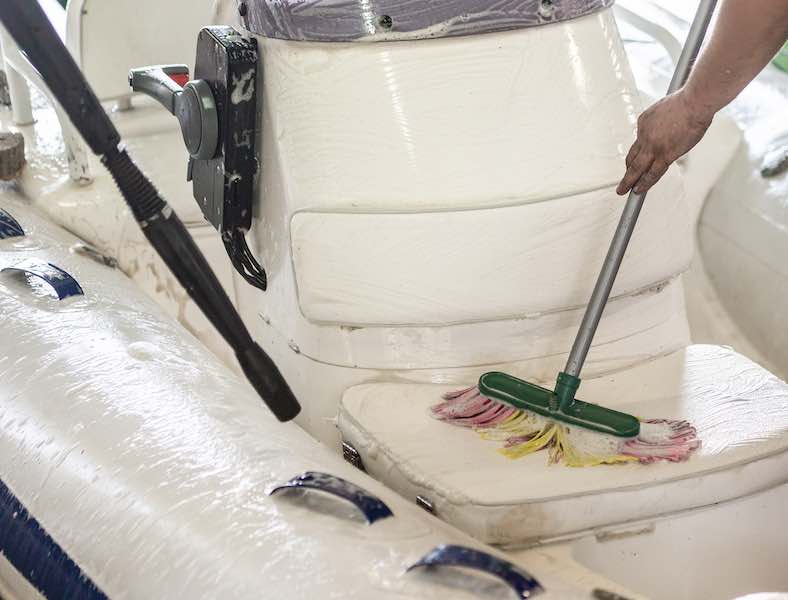
Clean Out Your Boat Before Shrink Wrapping
The material that boat shrink wrap is non-permeable so that it won’t let water in your boat, and it also won’t let moisture out.
Make sure that any food items, liquids, baits, or other items get taken out. Remove damp life jackets, towels, or any other items that hold moisture.
Give the boat a good once-over, and then let the boat dry out. You can also add bags of desiccant to the interior of your boat to absorb moisture.
Tarp VS Shrink Wrap For Your Boat
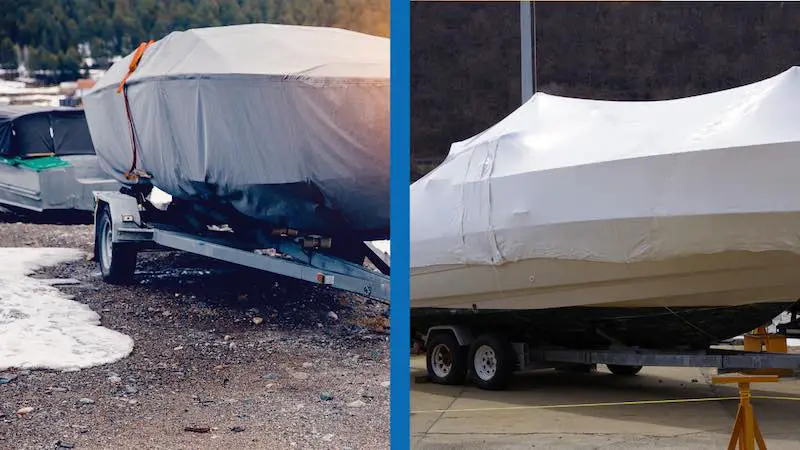
You can purchase an inexpensive tarp from the hardware and tie it down over your boat. If you have an older, inexpensive boat, this might be an option that will suit the purpose.
Monitor the boat over the storage season to ensure that snow or rain has not gotten into your boat. A tarp is not waterproof and will leak if snow or rain is allowed to accumulate on top.
Measure The Length Of Your Boat
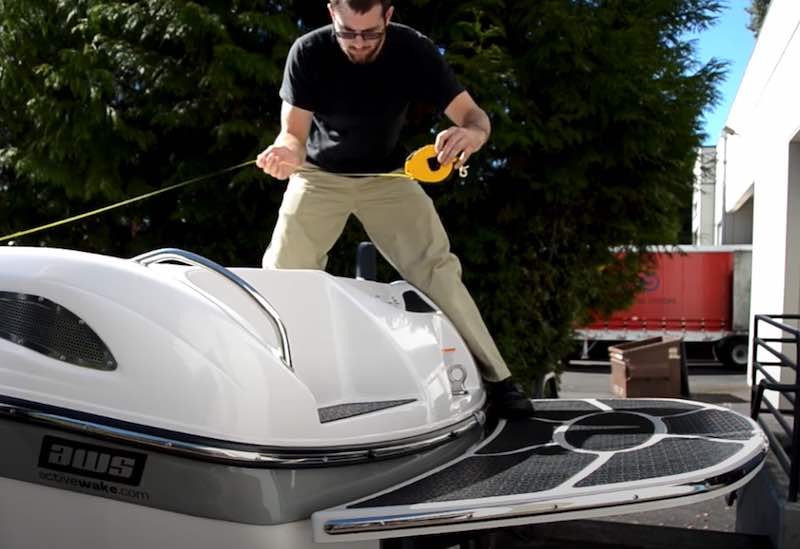
You don’t want to buy too little shrink wrap; that would be a disaster! But you also don’t want to have too much as that would be a waste of money.
Measure your boat from the top of the boat, down to the side, and the rub rails.
Tape All Of The Fuel Vents On Your Boat
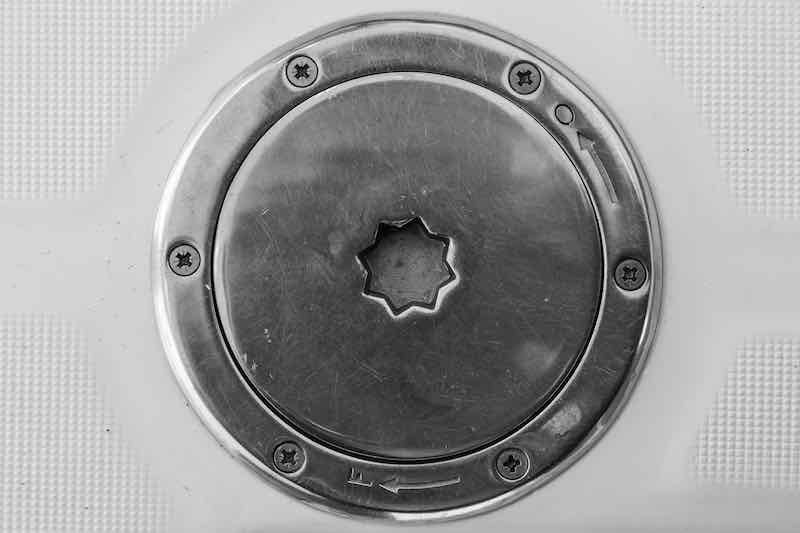
You have gotten all of the debris, food, towels, and PFD out of the boat. Next, tape over all of the fuel vents. Don’t miss one, or messily tape over it.
When the shrink wrap process is underway, it uses heat and an open flame. If there are any fuel vapors, it can be disastrous.
This is a critical step in the process, so be careful to complete it correctly.
Put Padding Over Any Sharp Areas Of Your Boat
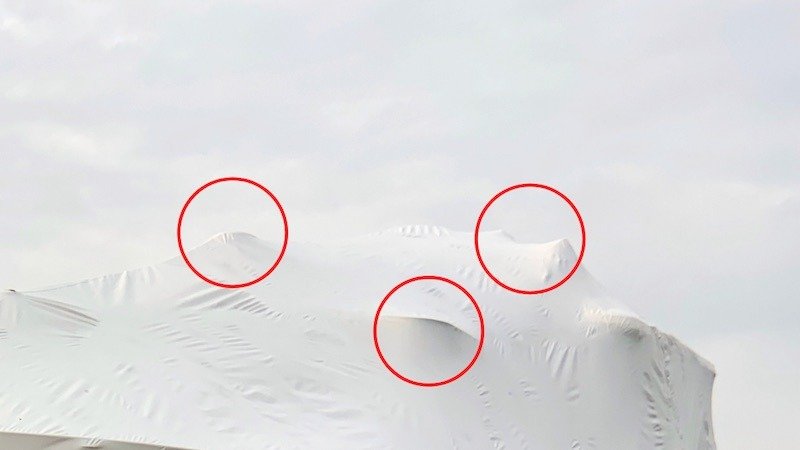
Pad the sharp areas of your boat. Use pieces of carpet or carpeting pad. Use whatever you have that will provide a covering so that sharp areas will not pierce the shrink wrap.
The wrap will shrink down tightly over your boat, and anything sharp sticking up will go right through the material, defeating the purpose. Cover any cleats, also, to prevent tears.
Create A Peak With A Center Strap
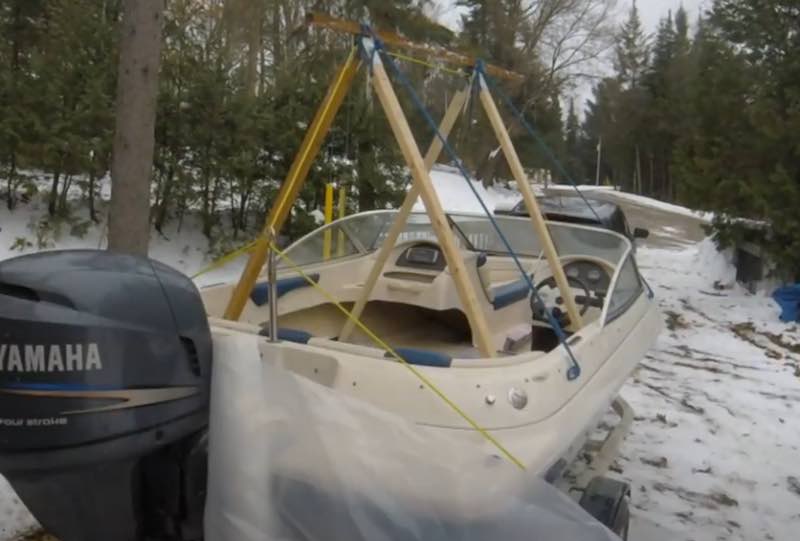
The single most crucial step in the shrink wrap process is to create a structure that the shrink wrap will lay on.
If the shrink wrap is simply pulled over a boat with nothing to support it from underneath, the large gaps between high and low points on the boat will be under stress and will give way over time.
Water or snow will weigh down the wrap until it fails.
The center strap creates a peak and forms the highest part of the structure. Think of it as the spine of the whole structure.
You will set it up the boat’s length from stern to bow, in the middle of the boat, and it will sit above everything else. Usually, this ridge is two-by-four lumber.
The ridge should be supported with the same cord used to secure the bottom edge of the wrap around the boat.
Pad The Support Ridge In Your Boat
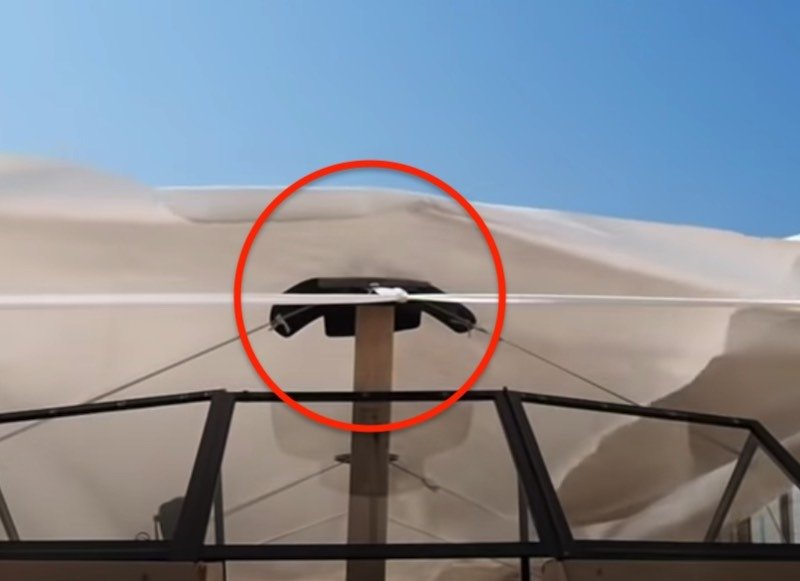
You will pad the top of the support to keep the wrap from rubbing through because of abrasion from the two-by-fours. Carpet scraps or a thick throw rug will work great for this purpose.
Your objective will be to create a pitch in all directions so that rain snow and will slide off the wrap and not collect anywhere.
Have the support at least 10 inches higher than the boat windshield.
Use The Heat Gun To Shrink The Wrap
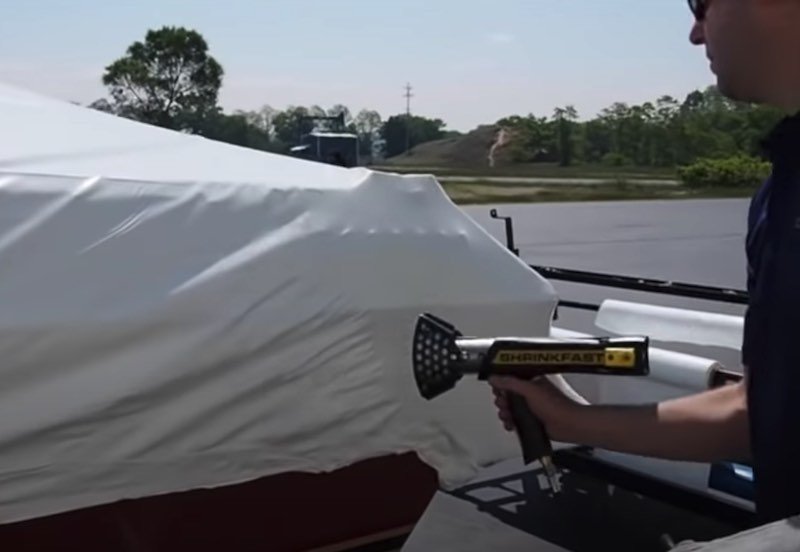
The bottom edge of the shrink wrap is wrapped under a cord that stretches around your boat.
The heat gun welds the material together, and you will be wearing welding gloves while doing so.
You will be patting the material to secure the weld, which is why you will need the gloves. Once you have the bottom edge secured, you apply heat to the shrink wrap on the top of the boat.
The heat shrinks the wrap and stretches it tight over your boat, creating a taut cover.
Monitor your boat and the shrink wrap for at least a half hour after finishing. This is the cooling off period for the wrap and you want to make sure all is secure.
Keep Your Boat Dry Inside With Ventilation
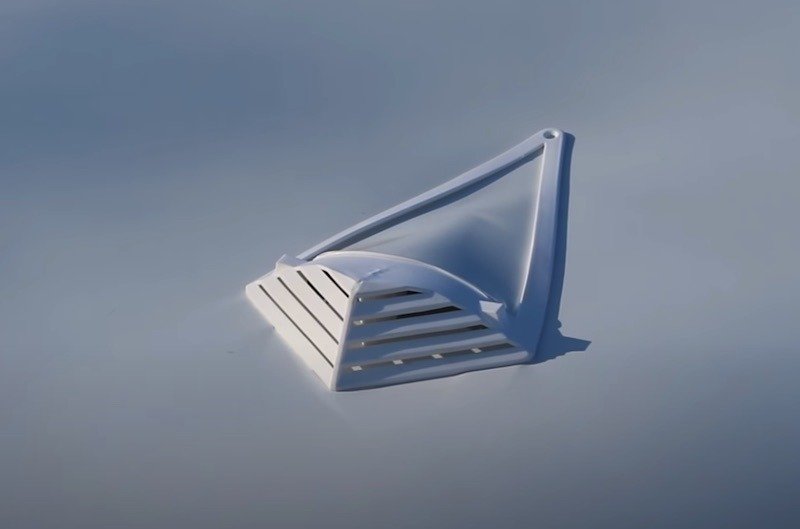
Install shrink wrap vents on both sides of the boat about every six feet. This will provide ventilation and keep mold or mildew from forming inside your boat.
The type of vent you purchase will dictate how you install the vent. Most of the vents will pierce the wrap and you will use pieces of shrink film tape to secure the vent.
How Much Does it Cost To Shrink Wrap Your Boat?

Having your boat done professionally will cost between $400 and $500 each time you shrink wrap it. It will cost you, initially, a bit more to purchase the items needed to shrink wrap your boat.
One of the most significant costs is the propane heat gun. They can run over $600.
You can rent a heat gun, but if you plan on wrapping your boat yourself each year, you might as well purchase your own.
Other Things You Need to Know About Shrink Wrapping a Boat
#1 You don’t want that large wrap of polyethylene to end up in a landfill when you take it off in the spring. Recycling & Rebag Program will send you a large bag that holds 600 square feet of used shrink wrap for under $10.
It will have a pre-paid UPS label. Put the wrap in the bag, drop it off at UPS, and it will go to Minnesota and be turned into synthetic deck lumber.
#2 Wrap usually comes in either white or dark blue. If you live in a warmer climate, use white. White reflects heat and results in less condensation. In a colder climate, the blue wrap will absorb heat and will help with melting snow to slide off the wrap.
#3 Most people will shrink wrap their boat where they will store the boat. In case you are going to be towing your boat after wrapping, you need a “bullet wrap.” A bullet wrap is an aerodynamic design that incorporates a thicker plastic and strapping. This takes into account the strong winds you will encounter when towing a boat that has been shrink wrapped.
#4 If you feel that you will need to get on the boat while it is stored, you should install a zipper access door, listed as optional in our “tools needed” list. Of course, this will cost you extra, but a zipper door can usually be cut out in the spring and used again when you store your boat.
#5 Shrink wrap can burn. You will have to be very careful when applying the heat as shrink wrap can ignite into an open flame. Practice before you work on your boat. If this happens while you are wrapping your boat, make sure that none of the wrap has fallen inside the boat and is burning there. Keep a fire extinguisher at the ready.
# 6 Once you finish, you need to let the shrink wrap cool for 30 minutes. During this time, do not leave the boat, but keep it under inspection while it is cooling.
# 7 Do not shrink wrap if the winds are blowing over 10 miles an hour.
# 8 Know that the heat gun gets to about 3,500 degrees, so it is not something to be trifled with. And don’t have any kids or goofy friends getting in the action; that would be a recipe for disaster.
# 9 Sailboat hulls painted with AWLGRIP or IMRON should not be shrink wrapped. Doing so will damage the paint, as the heat needed to seal the wrap will cause the paint to bubble.
# 10 It is not a good idea to shrink wrap over an outboard motor. Even a tarp over an outboard is not a good idea. A cover traps condensation, which can form under the cowl. This will cause electrical and corrosion problems.
In Conclusion
The shrink wrap process is within the realm of possibility for the do-it-yourselfer. There is, however, the use of open flame and fuel vapors to take into consideration.
Just know what you are getting into by doing more research and consulting with the professionals.
Your boat, no matter how big or small, is an investment for you. Not just monetary, but in time and enjoyment. Take care of it properly, and it will be ready for you for years to come!
Tools Needed to Shrink Wrap a Boat
- Cross-Woven Polyester Strap (1/2″ and 3/4″)
- 3/4″ Wide Strap
- Strap Dispenser
- Razor Knife
- 3/4″ Self Locking Metal Buckle
- 2″ x 4″ Lumber
- Bottom Cap
- End Cap
- Drill with a 1/2″ Wood Bit
- Strap Tensioning Tool
- 2″ Preservation Tape
- 1/2″ Wide Strap
- 1/8″ x 6″ Foam Padding
- Shrink Wrap Stands
- Metal Pole
- Shrink Film Knife
- Fire Extinguisher
- Shrink Wrapping Propane Heat Gun
- Welding Glove
- 6 ft Extension
- 4″ Shrink Film Tape
- Shrink Wrap Vents
- Stealth Vents
- Zipper Access Door (Optional)
