This page contains affiliate links. This means that we may get a small commission for recommending products, if you choose to click on something and buy it. This does not cost you anything, but we wanted to be honest and let you know!
(Last Updated On: )If you have a fishfinder and are unsure about how to mount a transducer on an aluminum boat, this article will provide the steps to take for transducer mounting.
Your fishfinder will depend on an efficient transducer to send and receive signals. The transducer is the very heart of an echosounder system.
This device will send out the sound waves and then receive the echoes back so that the echosounder can read what is below the surface of the water.
It is essential to know how to mount a transducer on an aluminum boat because, without the right transducer mounted in the right place, your fishfinder won’t be able to provide accurate, clear sonar imagery.
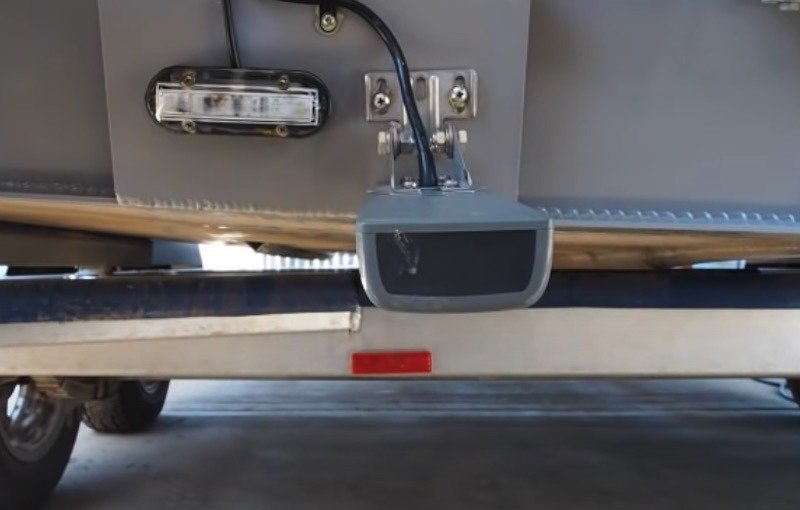
Table of Contents
Transducer Mounting On An Aluminum Boat
There are steps to take to mount a transducer on an aluminum boat and they are outlined below.
Step #1: Choose a transducer to go with the fish finder on your aluminum boat
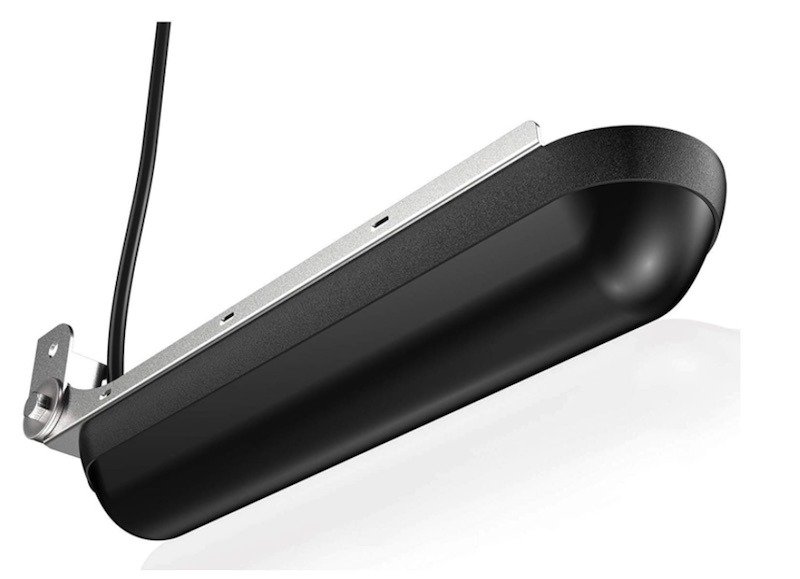
If your fish finder did not come with a transducer, you would need to find one that will work with your finder and be compatible with aluminum boats. When choosing a transducer, consider these three factors:
- The kind of fishfinder you own or want to purchase: Check the manufacturer’s suggestions or recommendation for transducer type to pair with their fish finder.
- How you fish: Decide which types of fishing you will be doing most often and gear your electronics toward those needs.
- What size and type of hull your boat has: Your boat’s size and hull shape play a significant role in choosing a transducer. Transom mounts are a really good way to mount a transducer.
Step #2: Get the needed tools together
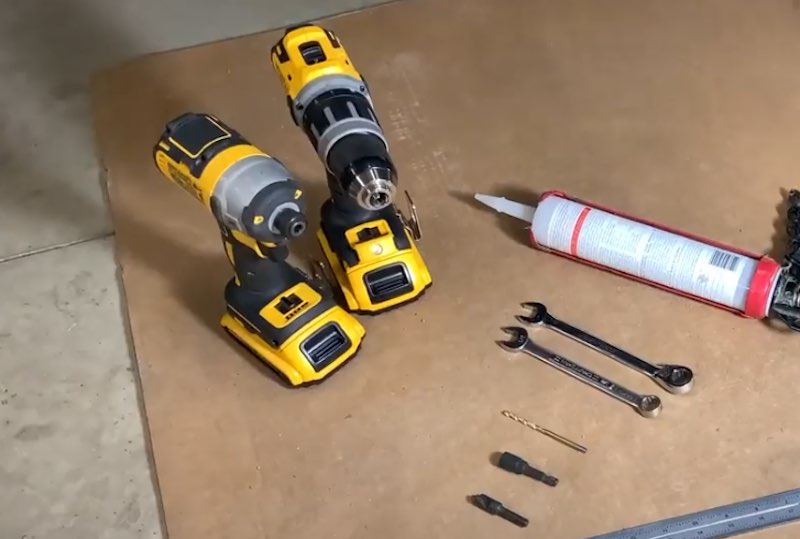
Before any project, it is always best to get the items you will need together in one spot. It saves time and frustration in a big way.
There are few things worse than getting to a critical spot in a project and not finding the needed tool or finding that you don’t have the necessary supplies.
Having to stop and look or run to the store can derail a project you had a limited amount of time (or friends helping) complete the task.
There are not many items needed for the project, but some, like the marine sealant, that you might not usually have sitting on the shelf in the garage.
Tools and Supplies that you will need:
- Transom mount
- Mounting block
- Power drill, drill bit set
- Phillips screwdriver
- Marine sealant
- Masking tape
- Zip ties
Step #3: Choose the location for transducer mounting on your aluminum boat
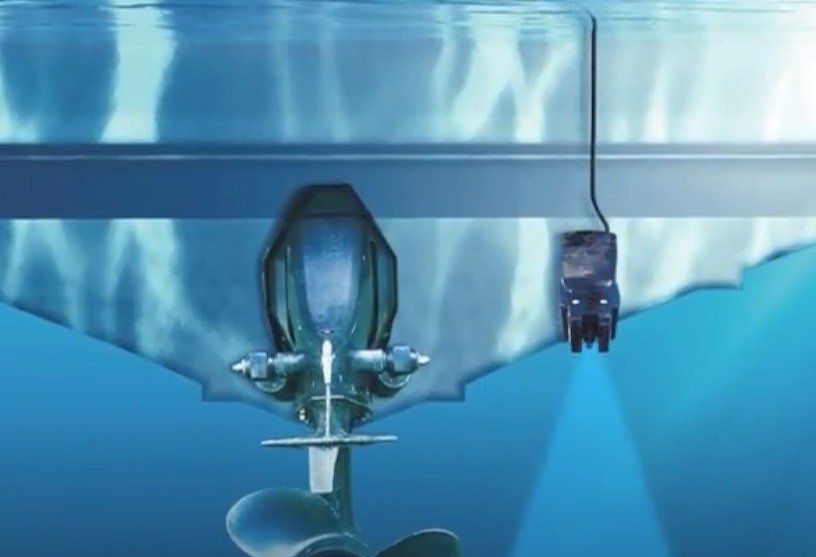
Choosing this location will be critical to your transducer working correctly. Improper placement can cause malfunctions and interfere with the functioning of your transducer.
The majority of transducers mount with a bracket on the transom. This convenient location will not require large holes in the bottom of your boat. It also eliminates interference with trailer bunks.
It is a good idea to locate the transducer on the side where propeller blades are moving downward on single drive boats. This is usually the starboard-side of a single outboard. It should be as close to the centerline as possible.
Locate it at least 3 inches outside the swing radius of the prop blades. If you happen to have twin drives, mount the transducer between the drives.
Step #4: Drilling for the transducer on an aluminum boat
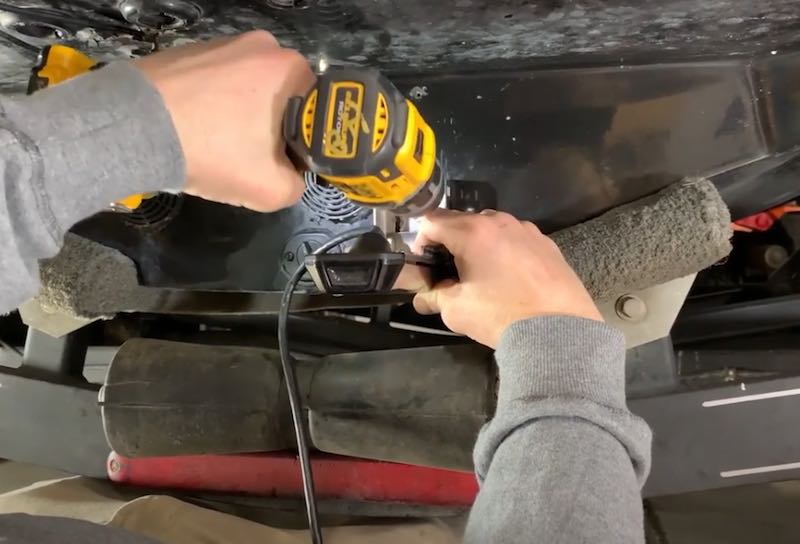
Your transducer should come with a template. Take the template and position it to align with the bottom edge of the transom and parallel with the waterline. Tape the template in place with masking tape.
Use the correct size drill bit for the template at the marked locations on the template. Make sure that the holes are perfectly aligned with the holes on the template. It will help prevent drilling too deep if you would wrap masking tape around the bit ⅞ of an inch from the point.
Drill holes 90 degrees to the angled transom surface, not horizontally, to ensure that the screw heads sit flush with the bracket.
If needed, sand away any excess metal bars so that all the hardware will sit completely flush. The crews used should always be stainless steel as they are corrosive resistant.
An alternative to drilling holes in the transom is to use a poly block to accept the retaining hardware. The block will get glued to the hull with a special adhesive, and hardware gets screwed into the block.
Step #5: Put marine sealant on transducer mount
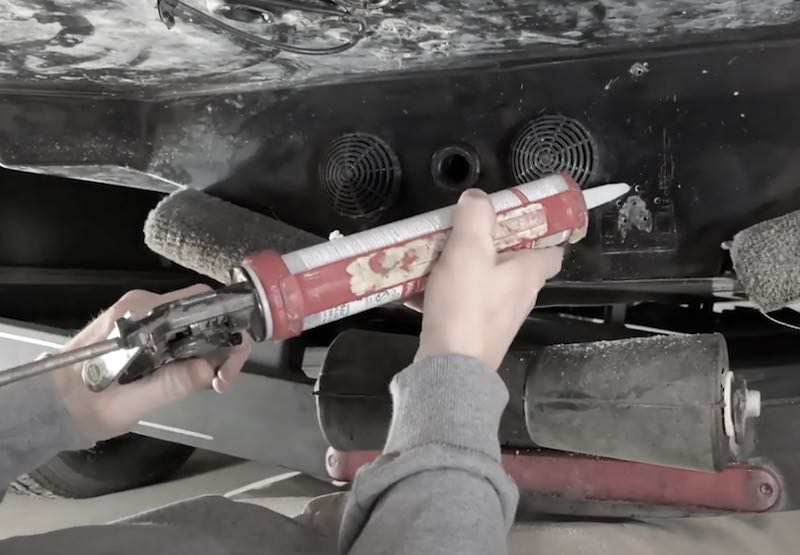
After reading the manufacturer’s directions for the type of marine sealant, apply the sealant to the bracket and the stainless-steel screws. Also, squeeze the marine grade sealant into each of the mounting holes that you drilled previously.
The marine sealant will be critical as it will prevent water from getting into your boat. Use a Phillips screwdriver to screw the bracket into the transom.
It is a better idea to use a manual screwdriver rather than a battery-operated screwdriver, as you will have more control and will be less likely to over-torque or strip the screws. Ensure that the bottom of the bracket is parallel with the waterline, and then tighten the screws.
Step # 6: Test the transducer mount on your aluminum boat with water
Once finished with the mount and the sealant has cured, test it to make sure that there is not any leakage. Use a bucket of water to pour over the bolts and watch for any signs that there might be water leaking into the boat.
If you do see any leakage, dry the area thoroughly and apply more marine sealant.
Step #7: Mount the transducer on your aluminum boat
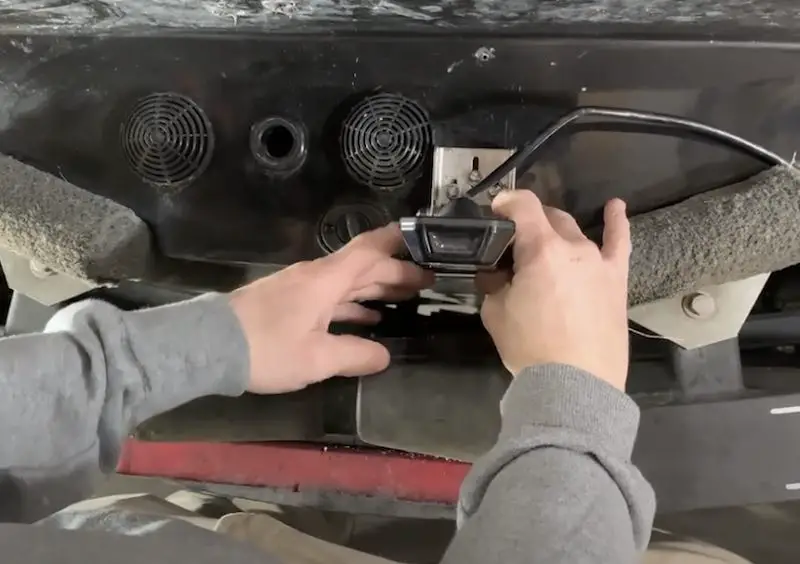
Previously, you read the directions on the marine sealant that you purchased. Some sealants can take up to 24 hours to completely cure.
Whatever that time frame is, it is best not to rush this process but give it the entire time suggested. Once this time frame has passed, you can then mount the transducer.
Step #8: Connect your aluminum boat transducer wires
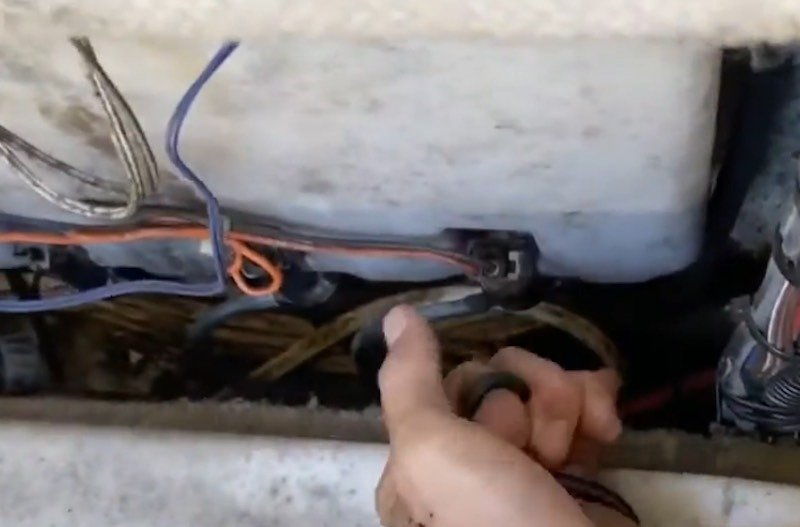
After the marine sealant has dried and you have mounted the transducer, it is time to connect all of the electronic components. Mount your display unit where you can quickly see the readings transmitted and then connect the transducer to the monitor.
To help secure the wires and to keep them from being accidentally pulled on, it is a good idea to use zip ties to attach them to the hull of your aluminum boat.
A visual presentation is always helpful, and this guy shows you how to mount a transducer on an aluminum boat. Watch it here: Transducer Mount custom fit on Aluminum Boat
Additional tips:
To work correctly, the transducer must be in the water at all times and in a place with good water flow when the boat is in motion.
Don’t mount the transducer less than one foot to the lower unit of the motor. This will help prevent cavitation interference from the propeller.
If the transducer is not in a smooth flow of water, interference that is caused by bubbles and turbulence will show on the screen as random lines or dots.
When you mount your transducer, make sure that its location does not interfere with the carrying of the boat.
Don’t trim the fish finder’s transducer cable to fit your boat. If it is too long, coil it. Cutting the cable will interfere with the accuracy of the signal.
When you take your boat out of the water, clean the bottom of the transducer to remove slime and prevent barnacles from attaching.
Never paint a transducer with bottom paint; instead, get a paint that inhibits marine growth without interfering with the transducer’s signal.
Never ground to the boat when installing electronics and always install a fuse to protect the electronics. Ground wires should hook to the battery or a grounding block.
